Manufacturing industrial 3D printing filament involves several key steps, from material selection, compounding & pelletizing to filament extrusion and quality control, etc. Below is a detailed breakdown of the process, along with variations based on different materials and technologies.
Step 1. Material Selection
The first step is choosing the base material, which can vary depending on the desired properties of the filament. Common materials include:
PLA (Polylactic Acid): Biodegradable, easy to print, derived from renewable resources like cornstarch, however, it’s not high temperature resistant, not UV resistant.
ABS (Acrylonitrile Butadiene Styrene): Stronger and more heat-resistant than PLA but harder to print due to warping, and it’s not UV resistant either.
PETG (Polyethylene Terephthalate Glycol): Combines PLA’s ease of use together with ABS’s durability, it is high and low temperature resistant, UV resistant, and waterproof.
PETG-S (Polyethylene Terephthalate Glycol – Signage): PETG-S is designed based on PETG, but it is an upgrading of PETG, it is especially good for signage printing, it has all the current advantages of PETG, what’s more, it has an extra advantage for signages, that is the perfect light diffusing effect, it allows the light be through the signage surface, and the light is perfectly diffused.
Step 2. Compounding & Pelletizing
Raw materials are mixed with additives (e.g., stabilizers, colorants, reinforcing agents, or light diffusing agents) in a twin-screw extruderto ensure homogeneity. The mixture is then pelletized for easier handling in the next filament extrusion step.
Step 3. Filament Extrusion
The pellets are fed into a single-screw extruder, where they are melted and forced through a die to form filament. Key parameters include:
Temperature Control: Varies by material (e.g., 160–220°C for PLA, 230–260°C for ABS and PETG).
Diameter Regulation: A precision die ensures consistent diameter (typically 1.75mm or 2.85mm). Sensors and feedback systems adjust extrusion speed to maintain tolerances (±0.05mm).
Cooling: The filament is cooled in a water bath or air-cooled chamber to solidify it evenly.
Step 4. Filament Spooling
First of all, get the black spools ready for filament, and then the filament is wound onto the black spools under controlled tension to prevent tangling or deformation.
Step 5. Quality Control
Diameter Consistency: Measured with laser micrometers.
Tensile Strength & Flexibility: Tested for mechanical properties.
Moisture Resistance: Especially critical for hygroscopic materials like PETG or nylon.
Step 6. Filament Packaging
In the packaging process of IROGA 3D, we use vacuum package for each spool of filament to make sure it will be protected well and can be long term stored, and we package 14 spools per box, and different colors can be mixed in the same box.
Step 7. Filament Stock & Quick Delivery
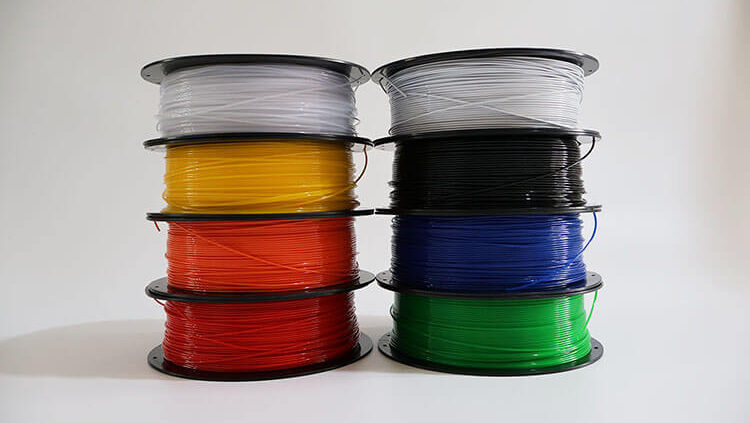
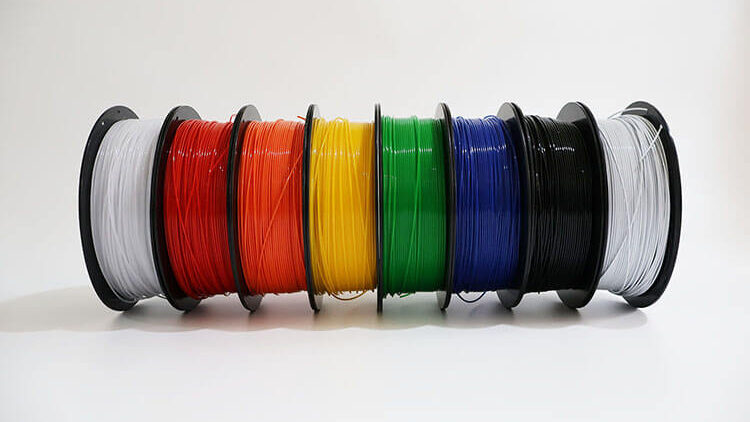
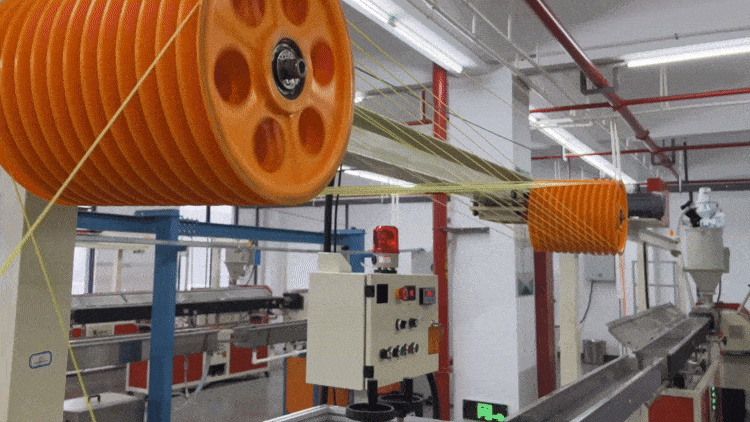
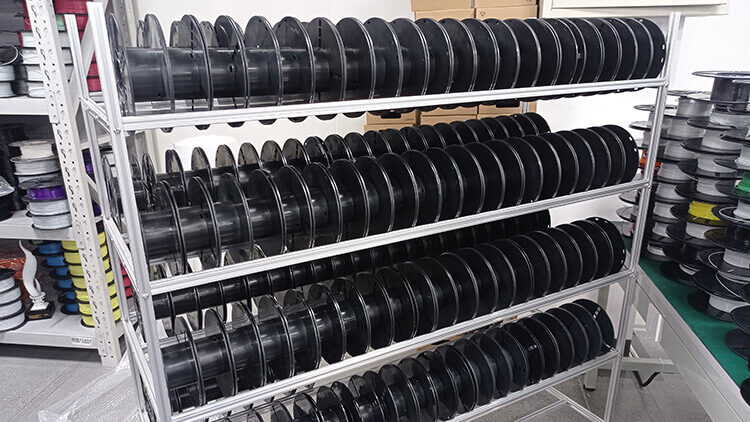
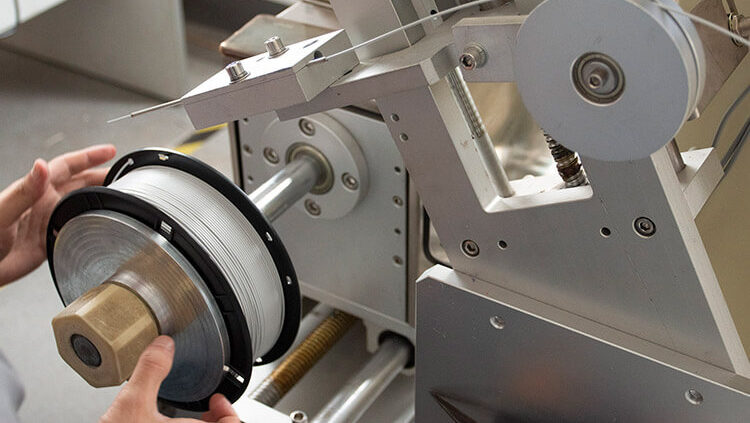
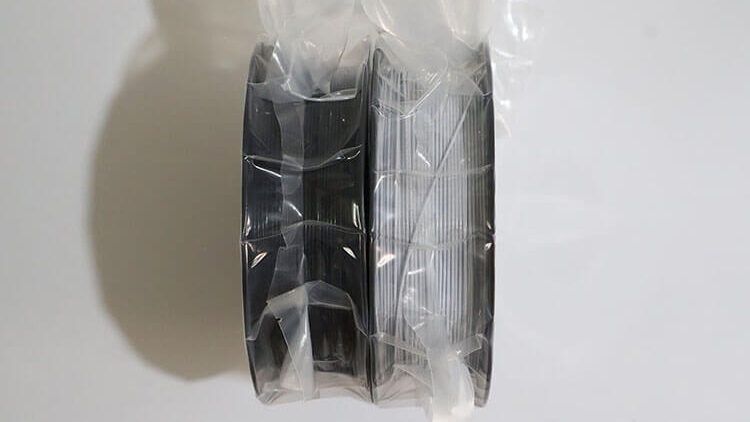
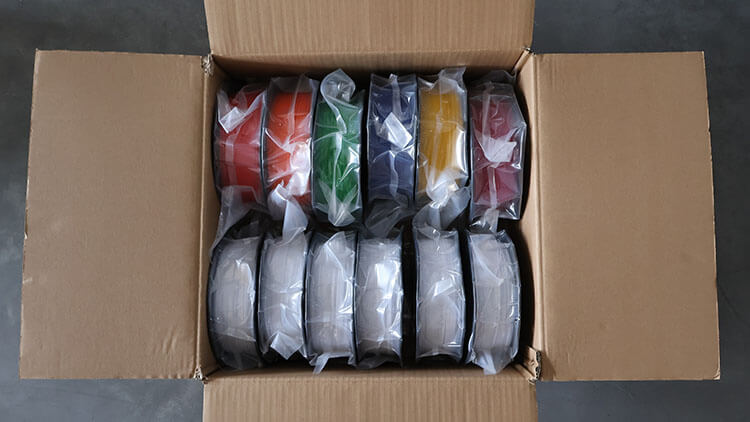
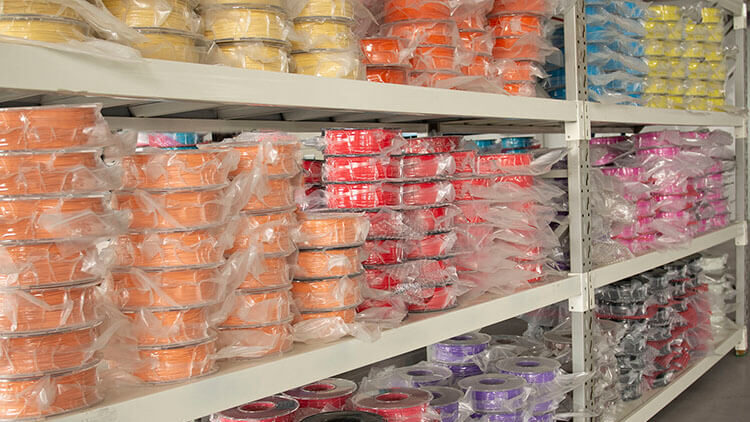
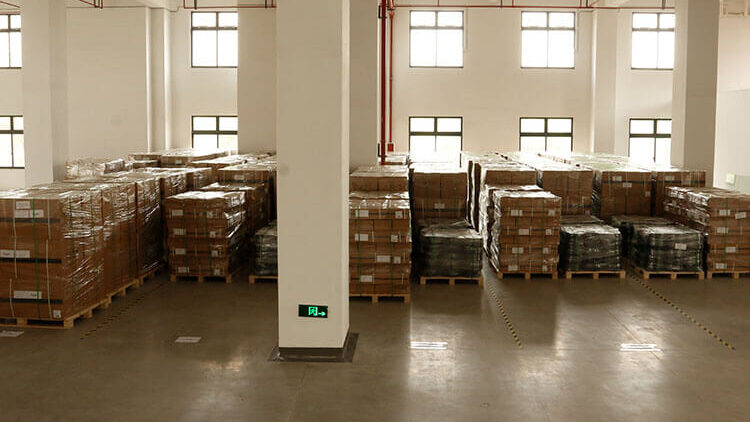
For some colors, IROGA 3D have stocks available in the warehouse and are able to deliver them quickly to the customers all over the world, including Asia, Oceania, North America, Latin America, Europe, Africa.